
Late last fall, we did a DIY kitchen remodel. I painted the kitchen cabinets, we built a range hood, and added molding to the upper cabinets. I really wanted to replace our builder grade, 1980's formica countertops with concrete - until I talked to a neighbor who had actually done this. He explained how they built molds, rented a concrete mixer . . . and the whole messy process! It just seemed like too much of a project for me and Mark to do on our own.
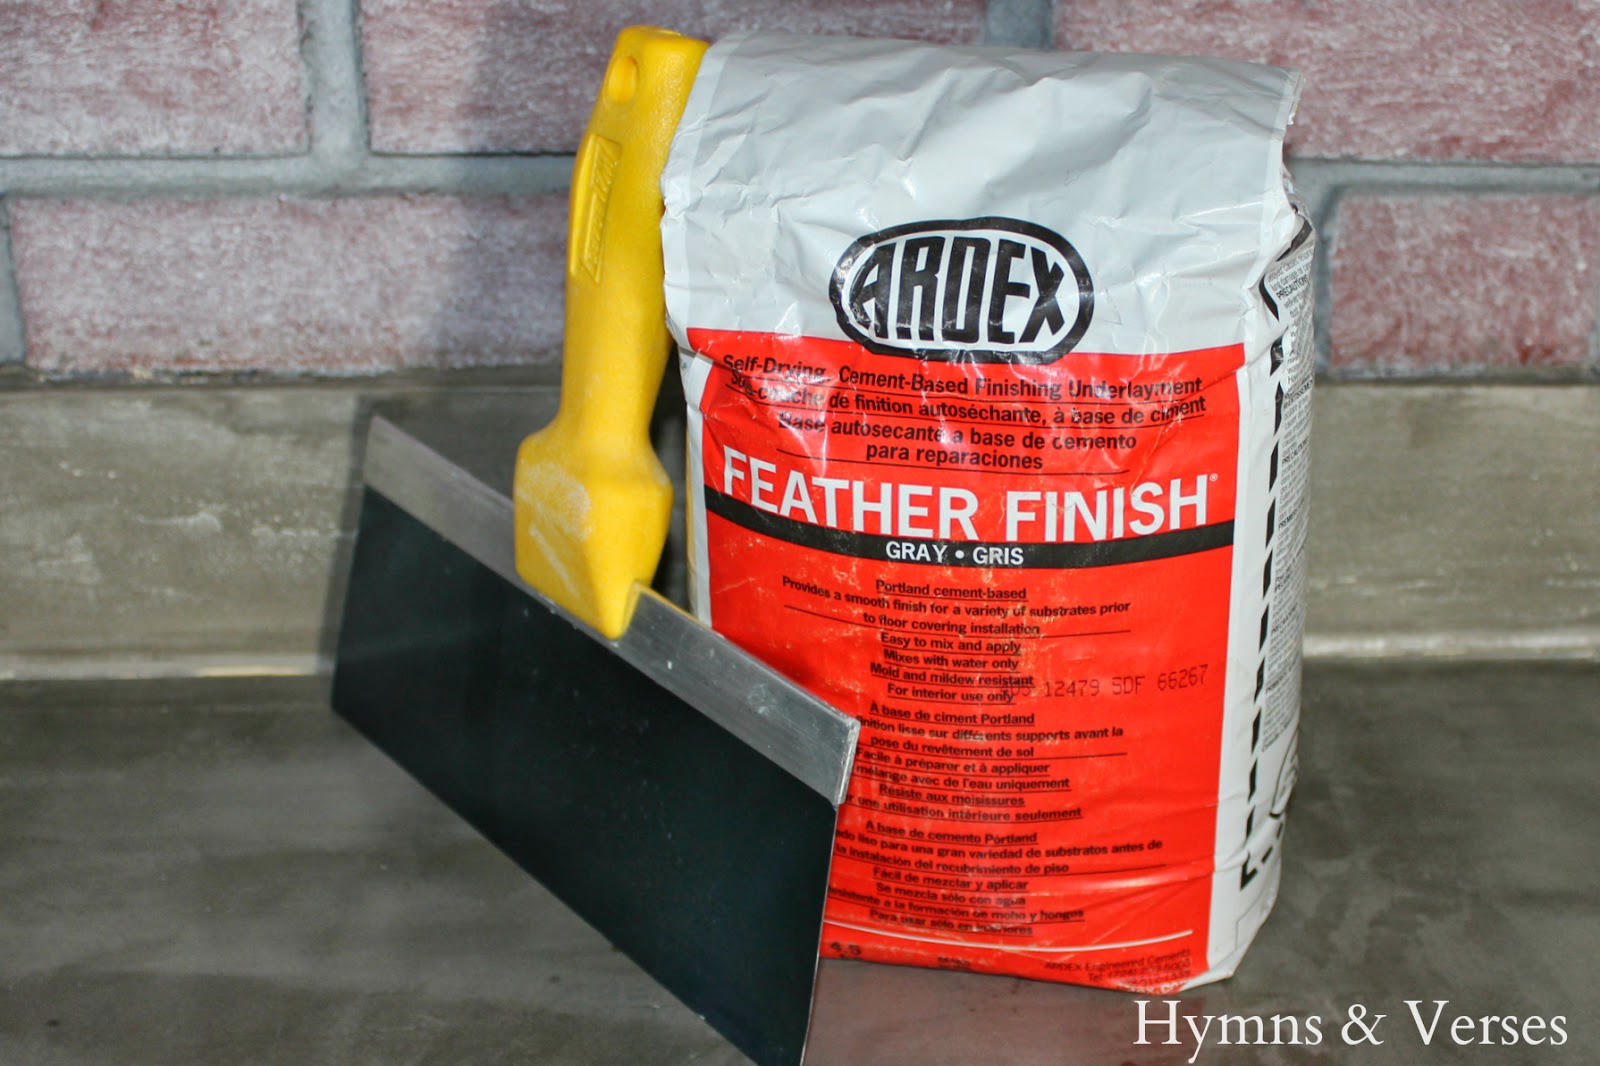
I didn't give up and kept searching the internet and Pinterest for perhaps an easier way to DIY a concrete countertop. I found a few different sites, but when I saw this particular PIN on Pinterest, I noticed a product that I have seen in our garage called, Ardex. Ardex Feather Finish is a patching compound used by flooring professionals to patch or skim coat an uneven subfloor. My husband works in the flooring business and I ran out to the garage and found a whole case of Ardex Feather Finish!
When I showed my husband the information I had found, he agreed that this would be a doable project for us. I admit, that because Mark is so familiar with the product, that he actually did most of the work. But, I truly believe I could have done this myself - it just would have taken me a bit longer.
With this method you are basically re-coating your existing countertop with the Ardex Feather Finish - which is a concrete product. Here's what you need to get started.
Ardex Feather Finish -
You can buy Ardex Feather Finish in a 10 lb. bag from Amazon for $20
or my husband recommended THIS SITE where it sells for 17.95.
You can buy Ardex Feather Finish in a 10 lb. bag from Amazon for $20
or my husband recommended THIS SITE where it sells for 17.95.
Drywall Tape Knife
Small Plastic Putty Knife
Container for mixing the concrete
Sanding block
Concrete Sealant
Wax
Sanding block
Concrete Sealant
Wax
Other tutorials say to sand your formica countertop to prep. Since my husband has used this product a lot, he didn't feel this step was necessary because the product is made to adhere to most surfaces. I did thoroughly clean the countertops before we started.
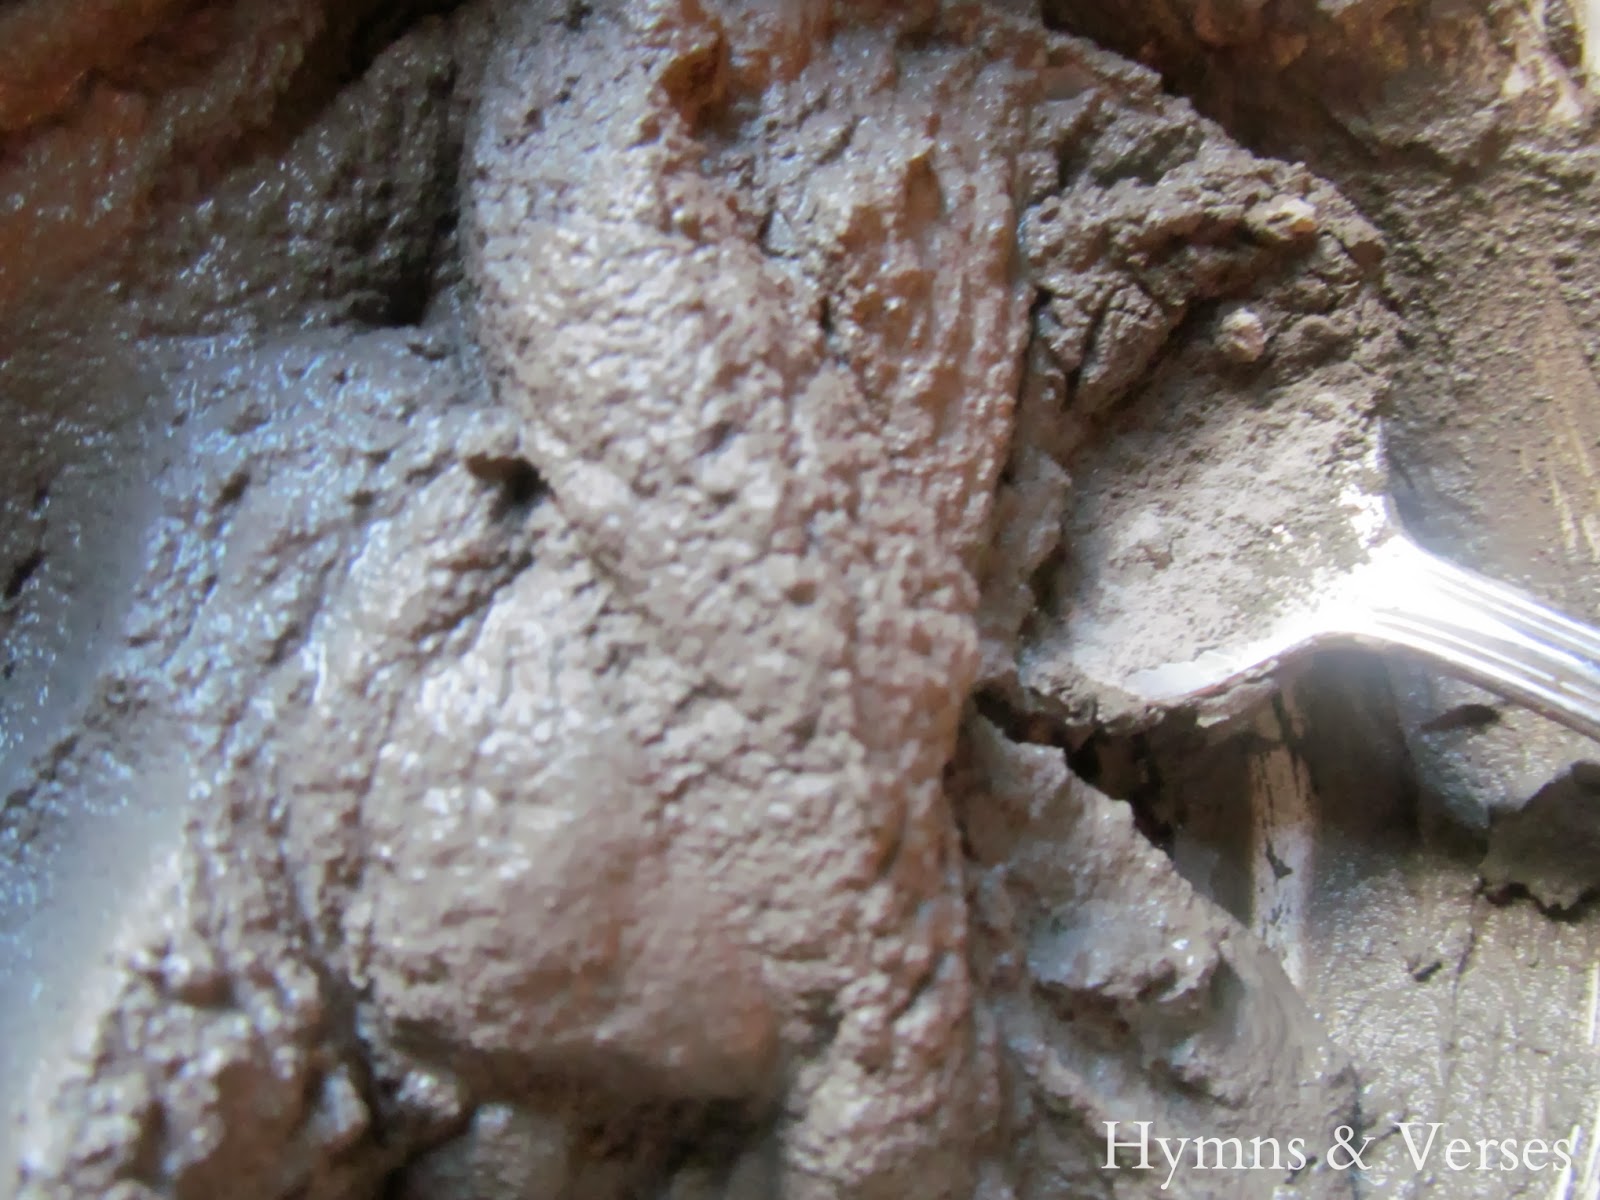
Because you are only coating your existing countertop, you don't need a lot of this product. We only used about half of the 10 lb. bag for the entire project. Pour some Ardex powder into your mixing container and slowly add water until you have the desired consistency (see photo below). You definitely want to mix small quantities of the product - because it does thicken and set quickly.
Here is the consistency you will want - (yes, that's one of my spoons)! I would recommend mixing with something other than a serving spoon!
Mark would simply pour or scoop some of the mixed Ardex onto the countertop and then use the tape knife to spread it evenly over the surface. The first coating will NOT completely cover the counter - it should be a THIN coat. Work your way around the countertop covering the top surface, as well as, backsplash and front edge. Try to keep things as smooth as possible, but remember this is concrete and it will be rough at this point. Once your first coat is dry, use your sanding block to even out the rough areas. At this point, the surface doesn't need to be perfectly smooth because you will be applying several coats. After sanding, vacuum up the dust and wipe off the countertop surface. Now, repeat the entire process for 3 - 4 coats. The photo below shows Mark working on the second coat.

To help with dry time in between coats, we used a fan to circulate the air and it definitely helped the concrete to dry more quickly. Do not move on to a new coating until the first is completely dry. In the above picture you can see the color difference between the dried finish and the wet application. As you can see in the photo below, we did not remove our existing sink. Mark just applied the Ardex up to the edge of the sink and it has held up great!

For the crease where the countertop meets your backsplash, apply some extra product along the edge and then use your finger to smooth it out - like you would caulk.

The final finish of the front edges of the countertops were the most difficult for Mark - I did those! Basically you want your mixture to be a little thicker for this part and you want to round the edge a bit to conceal the sharp edge of the formica. Because this edge will also see a lot of wear and tear, you especially want to build it up a bit. I basically would mold the product and then smooth it out with my finger.

I've read other tutorials that said they used a palm sander to sand the surface to where it is smooth. If you do this, make sure you use a fine grit and be careful how much pressure you apply - otherwise, you will end up sanding through your hard work! We actually used a sanding block and hand sanded everything. If you sand off too much, just remix more product and reapply, let dry, and carefully sand again. The surface is never going to look "perfect". If that is the look you want - this is not for you.

If you want to apply a concrete stain, you would do this after the final sanding. I liked the look of the natural gray concrete, so we skipped this step and moved ahead to sealing the concrete. We used this product, Homax Cure Seal and you will want to apply 2 - 3 coats. Again, be sure to allow each coat to dry completely before the next application.

Finally, we waxed the countertop for added protection. We used this car wax, which is a natural Brazilian Carnauba Wax. Just apply a thin coat of wax over the entire countertop and then use a clean cloth to buff - just like your car! This is a natural product and I don't set any food directly on the countertops, so it doesn't worry me if it's not considered 100% food safe.

Now, for the big question - "how does this hold up over time - how durable is it?" I would say that we've definitely learned a few things.
First - don't cut directly on your countertop. Like I said earlier, I don't put food directly on my countertop, but shortly after we completed this project, one of my sons (who shall remain nameless) decided he would cut a pizza directly on the countertop using a pizza cutter! Let's just say that everyone under the age of 23 got the message loud and clear that you don't put any food directly on the countertop and you definitely don't cut directly on the countertop (that is why there is a cutting board sitting on the countertop!)

As far as stains - again, you need to be careful. Anything like oil, salad dressing, spaghetti or pizza sauce, etc. can soak into the concrete and will leave a stain (even with the sealant and wax coatings). Remember, I have three young men who still live at home, so they aren't very neat or careful about anything! The wax DOES repel water. Now that we've learned what to be careful of, we are going to rough up the surface and add another quick coat of Ardex and refinish. Finally, I read on another blog that they had a lot of trouble with surface scratches. I haven't found that to be an issue for us.

Basically, for us and our limited budget - the concrete gives me the look I want for very little money. It's just not in our budget to install new soapstone or granite countertops right now. And, the concrete is waaaaay better than the 1980's formica that it replaced!
Sharing today at: